JPEGtran is cool because it lets you optimize JPEG images losslessly by:
- Stripping meta data (meta is sometimes bulky and useless for web display)
- Optimizing Huffman tables or
- Convert a JPEG to progressive encoding
From my experience 1 is more important than 2 or 3 and 3 gives better results than 2 for images over 10K
Installation
I never had to install jpegtran before because all unix/linux machines I've touched already have it. And on windows you just copy a binary somewhere in your path.
Well, I got this MacBook now and it doesn't have jpegtran so had to figure it out myself. Here's how you can do it, worked for me on Mac OS should work on any unix/linux too.
BTW, jpegtran is part of a package of few tools known as libjpeg, so you'll be installing a few programs not only jpegtran.
- Get the source code from here. It's the file called
jpegsrc.v6b.tar.gz. Using cURL you can download like:
curl http://www.ijg.org/files/jpegsrc.v6b.tar.gz > /tmp/libjpeg.tar.gz - Uncompres the package, e.g.
tar -xzvf /tmp/libjpeg.tar.gz - go to the directory that contains the uncompressed code, e.g.
cd /tmp/jpeg-6b ./configuresudo make install
Done.
You can test your shiny new set of tools like this and get some help information about the various options:
> jpegtran -h
> cjpeg -h
> djpeg -h
> rdjpgcom -h
> wrjpgcom -h
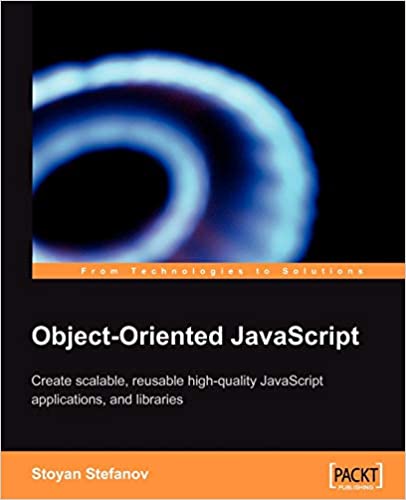
You also test by optimizing my book cover from Amazon like:
curl http://ecx.images-amazon.com/images/I/41ckBp3bBUL._SL500_AA240_.jpg > oojs.jpg
jpegtran -copy none -progressive oojs.jpg > oojs-opt.jpg
This gives you 10% smaller file with not a pixel of quality loss. Not bad, eh, for a minute of work, or less.
Comments? Find me on BlueSky, Mastodon, LinkedIn, Threads, Twitter
